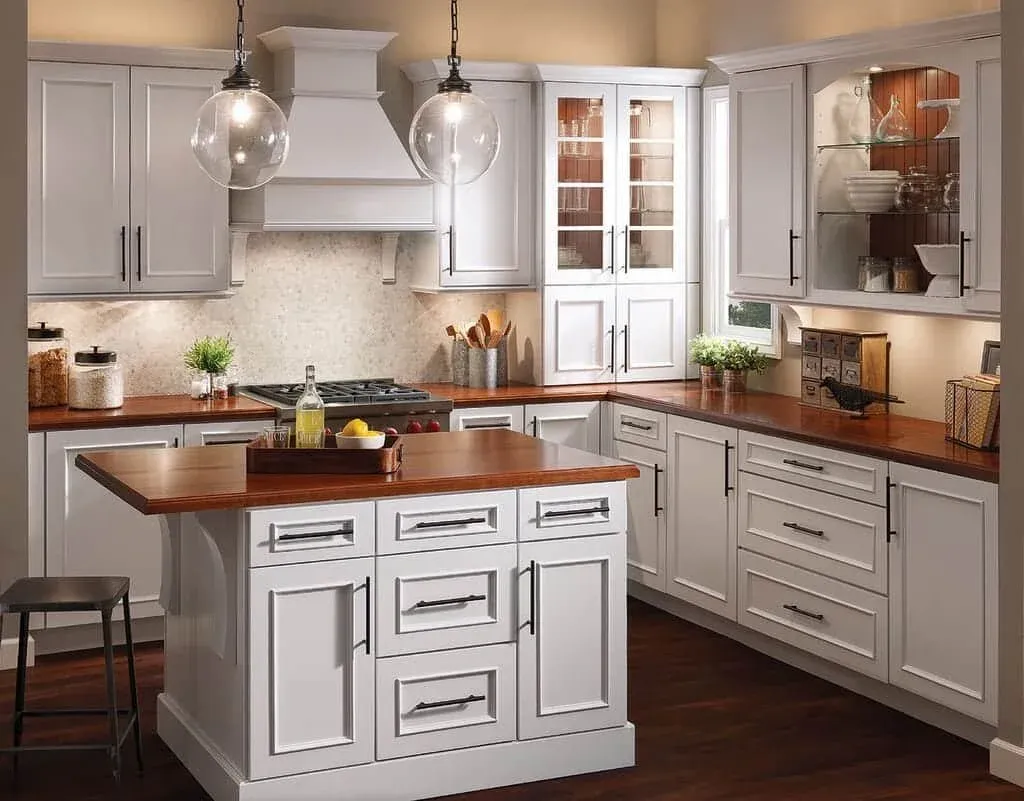
How to Properly Measure Your Kitchen
Getting the right measurements is critical when planning any remodel project. Some people find measuring their kitchens to be a daunting task because of all the elements that need consideration. This step-by-step guide will walk you through the process, identifying everything you need to measure to ensure that you have accurate dimensions when contacting a professional for help. Do this correctly will help you rest easy knowing your kitchen will fit in the space you have.
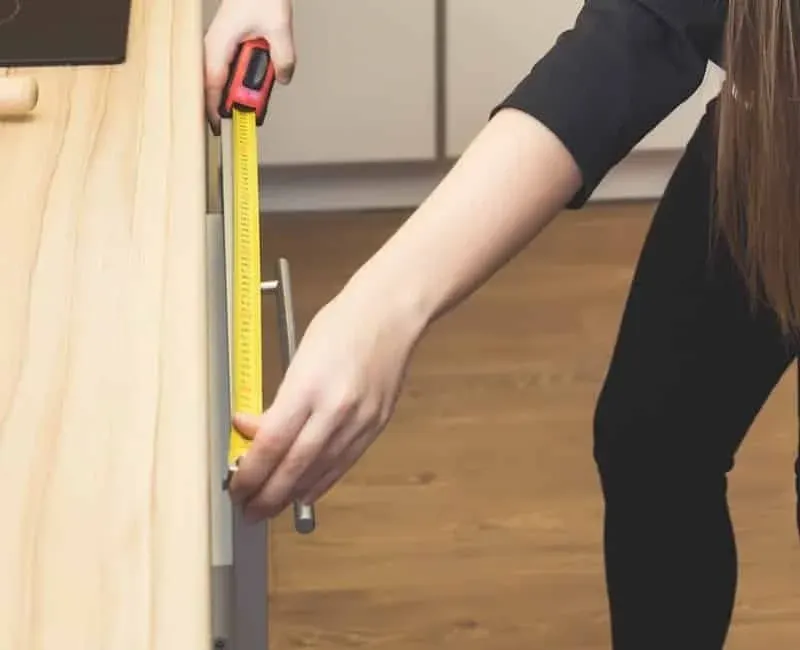
Preparations Before You Measure
Gather the necessary supplies, including graph paper, pencils, erasers, a calculator, a straight edge, a tape measure, a ladder or footstool, and a camera-capable device. Remember not to include any cabinets or furniture you will be replacing, including kitchen tables. Be sure to write all your measurements in inches (e.g., 10 feet as 120 inches) and be meticulous while you work, as this will simplify later planning steps. Panoramic pictures taken with your phone offer a visual for comparison with your drawings. Stand in the middle of the room, turning according to your phone’s required speed as you make a full circle.
Step 1
Sketch an outline of your kitchen, making special note of entry points and windows. For actual doors, make sure you draw which way the door swings. Mark out the location of sinks, appliances, water connections, wall outlets, light switches, light fixtures, ducts, closets, or islands, making special note of the center line for each object. Be sure to highlight any major architectural features and anything that projects into the open space.
Step 2
Start at the top left corner of your paper and measure to the right until you reach an obstacle or feature – window, wall, or doorway. Continue drawing in a clockwise fashion, measuring each wall or feature. Be sure to include the trim as a part of the door or window, measuring from the outside edge on one side to the same edge on the other.
Step 3
Next, measure the ceiling height, writing the measurement in the middle of your drawing. It’s a good idea to do this in different parts of the room, especially in older homes. Make notes of any variations. Include measurements from floor to a window trim’s bottom edge, the window including trim, and from the top edge to the ceiling. Repeat for all windows.
Step 4
Label your windows on your drawing in a clockwise fashion, beginning at the top left. Repeat this step for any doorways. Finally, write the name of an adjoining room along the side of your drawing that correlates to that room (e.g., living room along the right side, dining room, along the left side). If a wall serves as an exterior wall or is a load-bearing wall, make note of that as well.
Step 5
If any obstructions exist that cannot move or that you do not want to move, such as radiators or pipes, make note of each on your drawing. Measure the height, width, and depth of these obstructions and mark them clearly. Mark out the distances from the obstruction to the two nearest walls and the distance to the ceiling or floor.
Step 6
Go over your measurements for accuracy. Add up the measurements of parallel walls in a rectangular room to make sure they are identical. Double-check any obstacle measurements to ensure that they are correctly labeled and placed in your drawing.
Being meticulous in your measurements will save you a lot of time and money later. Attention to detail is crucial in a successful project. If you’re feeling uncertain or just want a professional’s assistance, Kurtis Kitchen & Bath can help you create a smart plan that fits your budget and lifestyle. Call today!
$1000 Off Your Project!
Ask Us About Financing
Including 12 Months No Interest/No Payments
Recent Posts
Remodeling any area of the home is a huge undertaking. However, planning and executing a kitchen remodel requires a great many decisions to be made, can take weeks, and has additional impact on a family...
Updating the cabinetry in your home is a significant investment, so you should take your time and carefully consider your options. You want your choices to not only reflect your own specific needs and preferences...
Home Solutions by Kurtis is a sister company to Kurtis Kitchen & Bath—a renowned, family-owned and -operated remodeling company that Canton...
Reviews
From start to finish Kurtis was a great company to work with. From the initial contact and design concept with Gregory Holster to the cabinet drop off team, the install team led by project manager Jeff Tuomi and the countertop company, the project was on time and all work was performed beyond expectations. This was greatly appreciated seeing as it was completed on December 23. All the people involved were professional and did an excellent job.
Shanna was our project consultant. Picking out cabinets along with counters can be somewhat overwhelming but her knowledge & experience helped us make the right decisions. Dylan & Juwan unloaded truck & Dylan check off ship ticket to make sure all boxes were accounted for. Courteous & pleasant to talk to…nice job of stacking everything neatly in our garage. We couldn't be more pleased with the service & so happy with our kitchen
We recently worked with Lauren on cabinetry for a master bathroom renovation. She was great to work on the design and selections. Lauren was efficient and responsive from cabinet selection through ordering. Our overall installation was smooth. We had some unforeseen circumstances impacting our ability to accept delivery of our cabinets on the initial agreed upon date. Kurtis was very accommodating in rescheduling delivery given our project challenges. We couldn't be happier with our cabinets for this project.
We had complete renovations to our kitchen and main bathroom. From start to finish, the design with Shanna was exactly what we asked for and Jeff stayed on top of the renovations, communicating each step of the way. Every worker was professional and the final product is elegant and functional. We were very happy with Kurtis and would choose Shanna and Jeff again.
We love our new kitchen! Kurtis Kitchen & Bath did an outstanding job, and Adrian at the Clarkston location was exceptional to work with—creative, patient, and really listened to what we wanted. The project was well-organized, and we went from demo to a fully functioning kitchen in just 30 days. Highly recommend!


Like your current kitchen layout but want a faster update?
Please visit our sister company, ReNewIt By Kurtis, to learn about cabinet refacing!
Contact Us

MON-THURS: 10AM – 5PM*
FRI: Closed
SAT: 10AM – 2PM
SUN: Closed
*Evenings by appointment only